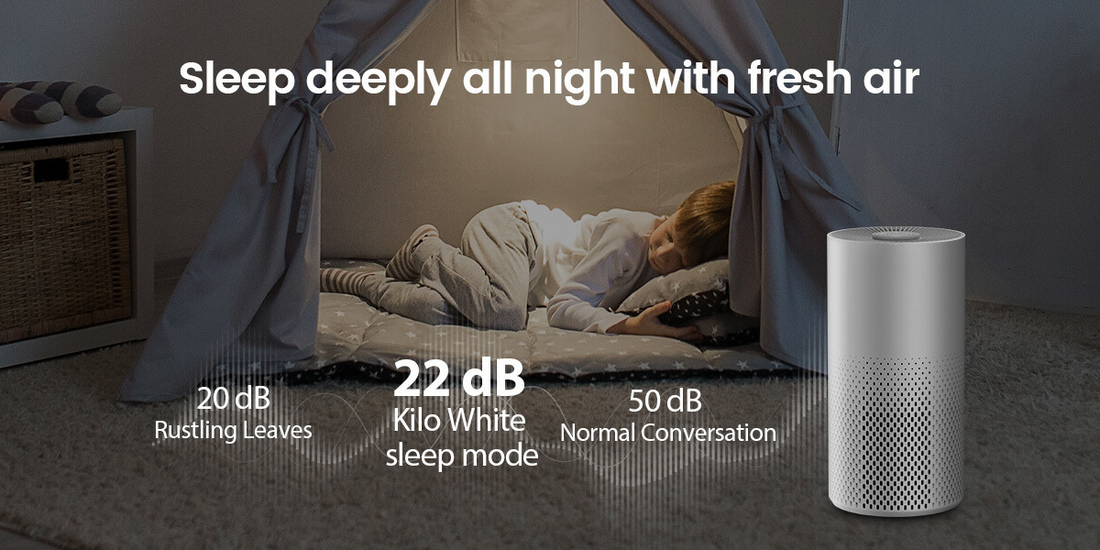
Air purifiers are essential devices that help improve indoor air quality by removing pollutants and allergens from the air. One of the key components of an air purifier is the filter, which traps dust, pet dander, pollen, and other particles. Over time, the filter becomes dirty and less effective, which is why regular cleaning and replacement are necessary. In this comprehensive guide, we will explore step-by-step instructions on how to clean and replace the filter in your air purifier. By following these guidelines, you can ensure that your air purifier continues to perform optimally, providing you with clean and fresh air.
Understanding the Importance of Filter Maintenance
The filter in an air purifier plays a critical role in capturing and trapping airborne particles. However, as it accumulates more and more pollutants, its effectiveness diminishes. Regular maintenance, including cleaning and replacement, is vital to ensure that your air purifier continues to function efficiently. Clean filters not only improve the overall air quality but also prolong the lifespan of your air purifier.
Cleaning the Filter
Cleaning the filter is an important maintenance task that helps remove accumulated dust and debris. Here's how you can clean the filter in your air purifier:
-
Read the User Manual: Before starting the cleaning process, refer to the user manual provided by the manufacturer. Different air purifier models may have specific instructions or recommendations for cleaning the filter. Make sure you understand the guidelines and follow them accordingly.
-
Turn off and Unplug the Air Purifier: For safety reasons, always turn off the air purifier and unplug it from the power source before attempting any maintenance tasks.
-
Remove the Filter: Locate the filter compartment on your air purifier. The filter may be accessed from the front, back, or top of the unit, depending on the model. Follow the instructions in the user manual to remove the filter carefully. Some filters may require you to twist, unlatch, or slide them out.
-
Inspect the Filter: Before cleaning, visually inspect the filter for any signs of damage or excessive wear. If the filter is torn, damaged, or has holes, it is best to replace it rather than trying to clean it.
-
Vacuum the Filter: Using a vacuum cleaner with a brush attachment, gently vacuum both sides of the filter. This will help remove larger particles and debris that have accumulated on the surface. Be careful not to press too hard or use excessive suction, as this can damage the filter.
-
Wash the Filter: Depending on the type of filter, you may be able to wash it with water. Check the manufacturer's instructions to ensure that your filter is washable. If it is, gently rinse the filter under running water. Use a mild detergent or a filter cleaning solution recommended by the manufacturer. Gently scrub the filter to remove any stubborn dirt or particles.
-
Dry the Filter: After washing, allow the air purifier filter to air dry completely. Placing it in direct sunlight or using heat sources for drying may cause damage. Ensure that the filter is completely dry before reinstalling it.
-
Reinstall the Filter: Once the filter is dry, carefully reinstall it back into the air purifier. Follow the user manual instructions to ensure proper alignment and attachment.
Replacing the Filter
Cleaning can only be done for certain types of filters, and there comes a time when filters need to be replaced. Here's how you can replace the filter in your air purifier:
- Refer to the User Manual: Consult the user manual to identify the specific type of filter your air purifier requires and the recommended replacement schedule. Manufacturers typically provide guidelines on when filters should be replaced based on usage and filter type.
-
Purchase a Replacement Filter: Purchase a new filter that is compatible with your air purifier model. Ensure that you buy a filter from a reputable source or directly from the manufacturer to guarantee quality and compatibility.
-
Turn off and Unplug the Air Purifier: Just like when cleaning the filter, it's essential to turn off the air purifier and unplug it before replacing the filter.
-
Remove the Old Filter: Follow the instructions in the user manual to remove the old filter from the air purifier. Different models may have different mechanisms for filter removal, such as twisting, sliding, or unlocking.
-
Install the New Filter: Take the new filter out of its packaging and carefully insert it into the filter compartment. Make sure the filter is properly aligned and securely fitted according to the manufacturer's instructions.
-
Reset the Filter Indicator: Some home air purifiers have a filter replacement indicator that needs to be reset after installing a new filter. Refer to the user manual to determine if your air purifier has this feature and how to reset it.
-
Dispose of the Old Filter: Properly dispose of the old filter following local regulations and guidelines. Check with your local waste management authorities for the appropriate method of disposal.
Conclusion
Regular cleaning and replacement of the filter in your air purifier are crucial for maintaining its effectiveness and ensuring clean indoor air. By following the step-by-step instructions provided in this guide, you can confidently clean and replace the filter in your air purifier, promoting better air quality and a healthier living environment. Remember to refer to the user manual specific to your air purifier model for detailed instructions and recommendations.
Note: The above article is for informational purposes only and should not replace professional advice. Always refer to the manufacturer's guidelines and consult relevant experts when needed.

